How to Install an M.2 SSD in Your PS5
Expert Preparation
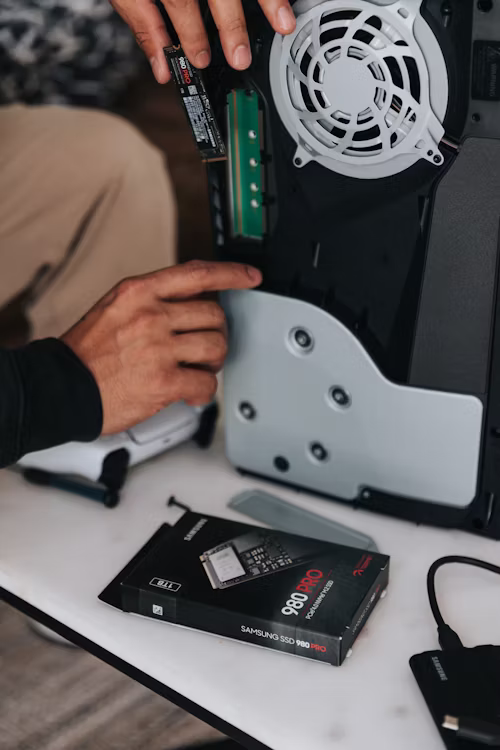
Before beginning, ensure your PS5 is fully powered down and unplugged. Placing the console on a soft, lint-free cloth will prevent scratches to the white faceplates. Note for PS5 Pro users: While the Pro features 2TB of internal storage, adding a secondary M.2 drive is highly recommended for massive 2026 titles like GTA VI.
🛠️ Required for this Installation
To avoid stripping screws or thermal throttling, ensure you have the following:
- Compatible Storage: A Gen4 or Gen5 NVMe SSD (See Verified 2026 SSDs).
- Thermal Management: A heatsink is mandatory. Many drives come without one.
- Precision Tools: A Phillips #1 driver. If yours is slipping, see our Precision Toolkit Guide.
Step-by-Step Instructions
- Remove the Plate: With the PS logo facing down, gently lift the back corner of the plate and slide it toward the base of the console.
- Open the Bay: Use a #1 Phillips screwdriver to remove the screw from the rectangular expansion slot cover.
- Set the Spacer: Move the internal screw and spacer to the "80" mark (most SSDs are size 2280).
- Insert the Drive: Hold the SSD at a 45-degree angle and slide it firmly into the terminal until it clicks.
- Secure and Close: Screw the drive down into the spacer, replace the slot cover, and slide the faceplate back on.
⚠️ Tech Tip: The internal M.2 screw is notoriously soft. If you feel the driver slipping, stop immediately. Using a hardened steel bit is the only way to prevent a permanent strip.
Need a Drive or Heatsink?
Don't risk slow load times or overheating with unverified hardware.
Check PS5 Compatibility & PricesWhat Happens Next?
Once you turn the PS5 back on, it will automatically detect the drive and ask to format it. This process takes less than 30 seconds, after which you can begin moving games to your new high-speed storage.